Table of Content
So this is how we can install Google Assistant on Raspberry Pi and can turn it into a Google Home by connecting a Speaker and microphone to it. Whenever you want to launch Google assistant, just get in the environment and follow the below steps. Run the following command to install Python3 and the Python 3 Virtual Environment to our RPi. Here you have to activate the following activity controls to ensure that the Google Assistant API work fine. After logging in to your Google account, you will see following window. This GassistPi project can also helps you to automate your house.
First, connect to the raspberry pi Get the latest nodejs run-time from the following command in the terminal. I guess this has been two guides really. CGI scripts on a Pi and Google Home interfacing.
connecting a raspberry pi to a google home
Once everything is done, you will have following screen. You can select any traits that you need, but in our case we don’t need any of these so we just clicked the Skip button as shown below. On next screen, you have to enter the Project Name and click on Create Project. First, we have to register and set up a project on theGoogle Console Actions dashboard .

Making statements based on opinion; back them up with references or personal experience. Connect and share knowledge within a single location that is structured and easy to search. Find the Raspberry Pi IP address for the Wi-Fi connection.
Raspberry Pi And Google Mini
Definitely go through the process to figure out one relay first. Once you've got that problem solved, you'll have a new set of problems to face getting all 16 relays wired up. The pi should have enough pins to handle it, but you'll run into some power supply issues getting the required voltage to all of the relays in series. Now that the Google Home is out, there are lots of people wondering how to use it to control their existing Arduino or Raspberry Pi smart devices. Now that I've got my setup working, I thought I would share my fairly simple setup with you.
Plug in an ethernet cable or connect to a Wi-Fi network using the command line. There are quite a few ways above steps could go wrong. The easiest way to expose your local servers to the public internet is using secure tunnels. Make sure you enable SSH or VNC to access your RPi using another device on the same LAN. At line 66, remove or comment out the print statement, and add an if statement to control the LED. If you've never done this before, this tutorial will help you learn how to use Python virtual environments.
Step 12:
NO Port Forwarding is required with this method. One option, for example, is to use a tool like ngrok to create a tunnel between the device itself and a service run by ngrok on the public Internet. Calls to the public https address are sent to a service running locally on your device, and you can handle it accordingly.

However the Flask server can only be accessed locally. Though you can control your switch locally, you can’t do it outside your LAN. Follow this guide to get your Pi running and then enable SSH. Add the response which we need to hear after saying the command to Google Home. If needed set this intent as the end of the conversation. These are the commands that users speak when they try to access a specific task from Google Home.
While I am currently using a Raspberry Pi Zero to control a five outlet power strip, This guide is more general. It will walk you through how to use any Raspberry Pi device to control an electronic relay, using Node.js and the IFTTT web services. To run commands on the Raspberry Pi, you need to open the terminalon the device or use an SSH connection. You must use an SSH connection from your development machine if you do not have a monitor, keyboard, and mouse connected to the Raspberry Pi.
Open the Pi's browser, alternatively, if you are connected via SSH open a browser locally. Navigate to the Google Action Console and click New Project. This tutorial can be followed directly on the Pi or via an SSH connection into the Pi. Raspberry Pi with a fresh Raspbian install on the SD card. The first step was to look at the google Home API. The second step was to say “That looks like hard work.” and ignore it. First, make the Pi Bluetooth to auto connect the speaker .
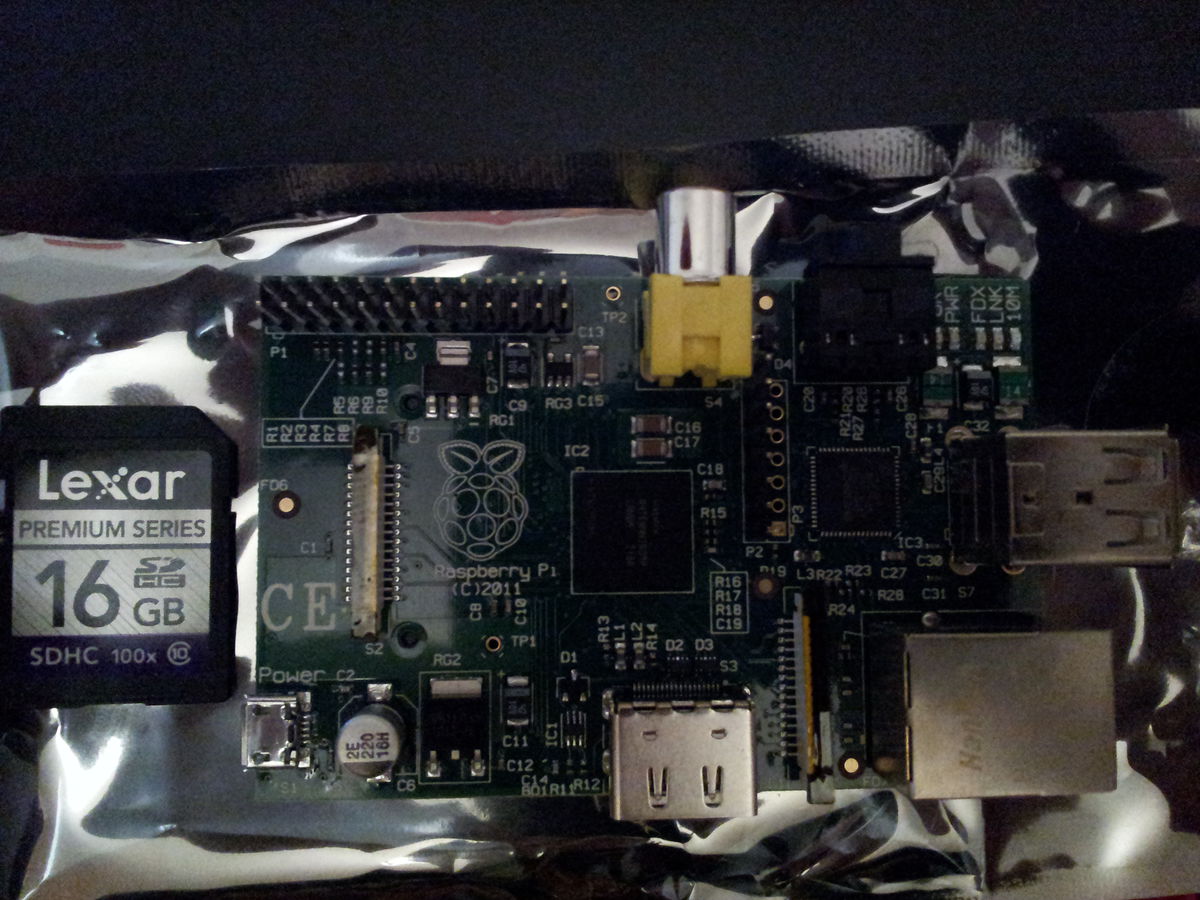
If you are new to Raspberry Pi then go throughGetting started with Raspberry pifirst. Oogle Home is a beautiful device with built-in Google Assistant — A state of the art digital personal assistant by Google. — which you can place anywhere at your home and it will do some amazing things for you. It will save your reminders, shopping lists, notes and most importantly answers your questions and queries based on the context of the conversations. I tried using the internal and external ip but both say connection refused. I have a custorm port that was set up a year back.
When you've entered your version of the above code, press Ctrl + X to save and exit. The contents of this directory will differ depending on what card and device numbers you are using. This is where you can choose to favor HDMI output rather than 3.5mm if you wish. Also, I am using the 3.5mm output for audio. HDMI and other output sources will also work, though it will require modifications to the sound setup below.
If you have USB 2.0 microphone then steps followed are same to check the microphone. Here we have used Webcam for USB microcphone. I got the server to say that its listening to port xxxx but when I try to use it in the browser it says connection refused. So, there are lots of guides on getting started with relays on the Rasberry Pi. I mostly used Youtube tutorials like this one to get started.

This lets you break the circuit with the switch when the relay circuit is closed. Alternatively, if you don’t have a keyboard, mouse and a display, check out this headless setup. You’re snug and warm in your bed, and are about to happily doze off when you realize- you’ve forgotten to turn your lights off. Don’t worry though- it’s possible for you to do so without climbing out of those soft sheets. Here’s how you can set up your room to be infinitely cooler. Now we will set up our back-end service to get those queries to open videos and websites on our raspberry pi.
You’ll also need to route web traffic from a fixed URL to your Pi. This can be on a non-standard port but don’t assume that’s any form of security. It’s probably best to avoid anything on there that could be useful to the bad guys or expensive to you. If your ISP doesn’t give you a static IP address, you may need to use a Dynamic DNS provider.

Now that you have a Google Assistant device, try some of the best Google Home commands---we've looked at some great Google Home mini games. Back in the Action Console, select Device registration from the left panel. Under Product create an easy to remember name for your device. The manufacturer name isn't important , and select Auto for the device type. The image above shows the USB webcam as card 1 and device 0. Take note of the card and device numbers for both microphone and speaker output.


No comments:
Post a Comment