Table of Content
Once everything is done, you will have following screen. You can select any traits that you need, but in our case we don’t need any of these so we just clicked the Skip button as shown below. On next screen, you have to enter the Project Name and click on Create Project. First, we have to register and set up a project on theGoogle Console Actions dashboard .
Use the terminal or the SSH session you set up in this step to enter the commands in the rest of this guide. The working directory for both is/home/pi. The first thing that you need to do is set up the wiring so that you can programmatically flip the switch using our Raspberry Pi. While it’s easy to trigger GPIO ports, they can only emit 5V. In order to close/break a 220V circuit, you need a relay.
2 Triggering appliances with Python
Because Google Home connects to webhooks which are on the accessible over the internet. Instead of that headache, we can use dataplicity services to place our raspberry pi on the internet with ease. Replace "raspberry-pi-ip-address" with your Pi's ip address, and don't forget the colon before the path. If you downloaded the JSON file to another location modify your local path to reflect this. Enter your password when prompted, and the file will copy to the Pi's home directory. Switch the christmas lights on” and the Google Home speaker should send the command to ifttt.
I've been using that port which was also made for port forwarding so i dont know if it could be that or do i have to use a specific port. I used your google home and raspberry pi communication to write a program that controls the drone via the google home. The main step is to build an Node + Express server that is able to handle POST requests. Any request sent to your ngrok or pagekite URL should hopefully get tunnelled/forwarded to your flask server.
Step 6: Install Snowboy Wake Word Engine
You will get a successful pair message but the speaker is not connected yet. Go to the speaker icon on the top menu bar. Your speaker should produce a chime or voice notification to indicate the Bluetooth connection is successfully made. If you don't want to use the monitor, keyboard, and mouse at next startup, enabling these options would allow you to remote access the Pi.

I already use dyndns for other things so was covered there. This step is important to get the Raspberry Pi Zero Docking Hub audio to work with the Google Assistant software. Left mouse click over the WiFi icon on the top bar. You only need to do once unless the network setting has changed or need to be changed.
Storing 100,000,000 words Python-Postgres
These options are under Preference/Raspberry Pi Configuration, then go to Interfaces and checkmark the SSH and VNC options. In addition to the push to talk feature, you can also trigger the Google assistant by saying Ok Google. For this you have to enter an invalid device id for it to work. Incorrect device id can be anything like aaaa , abcd.
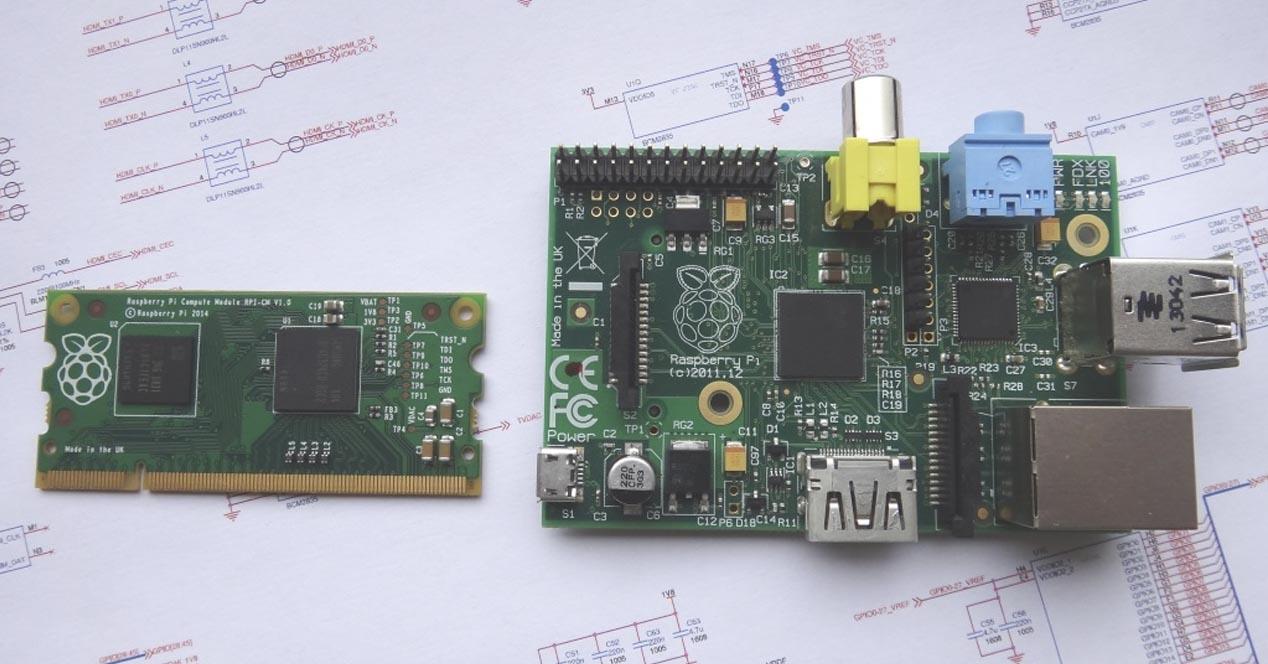
While I am currently using a Raspberry Pi Zero to control a five outlet power strip, This guide is more general. It will walk you through how to use any Raspberry Pi device to control an electronic relay, using Node.js and the IFTTT web services. To run commands on the Raspberry Pi, you need to open the terminalon the device or use an SSH connection. You must use an SSH connection from your development machine if you do not have a monitor, keyboard, and mouse connected to the Raspberry Pi.
Install Google Assistant SDK
In ifttt.com, you need to link to your google home account and the webhooks service. To do this go to the My Application section and click the Services link on the right hand side. Linking the services is simple enough once you’ve found them. Can we use the microphone available in the Bluetooth speaker instead of a separate microphone. If so what are the changes we need to do inn setup.
You could also develop a Mobile app to send requests to this server with an intuitive UI on your phone or tablet. If you’d like to control a switch in an existing wall socket, grab a screwdriver and a pair of safety gloves. Open the socket and disconnect the switch’s live wire and connect it to NC port of the 1st Relay. Take another wire and connect the NO port of the 1st Relay to the switch’s live input .
You need to modify this file to set up the built-in microphone on the docking hub. We are using the neat Saramonic Mini Directional Microphone for Smart Phone. My existing IFTTT commands through the maker channel are still working, but they've changed the naming structure since I made this guide. New commands still use the Google Assistant trigger, but the web requests are now handled by the "Webhooks" action. If you don't have a monitor, keyboard, and mouse connected to the device, you can still control the device remotely via SSH.

Open the Pi's browser, alternatively, if you are connected via SSH open a browser locally. Navigate to the Google Action Console and click New Project. This tutorial can be followed directly on the Pi or via an SSH connection into the Pi. Raspberry Pi with a fresh Raspbian install on the SD card. The first step was to look at the google Home API. The second step was to say “That looks like hard work.” and ignore it. First, make the Pi Bluetooth to auto connect the speaker .
Might be a lot of work, but it’s a possibility. I would like that the google home mini reads a string out of the Raspberry Pi. The program is made in Python and I heave some knowledge about python. So Wenn the python program runs I want the string to be send to the google Home Mini and directly be spoken. Ever since I bought my Google home I have been wanting to control my devices at home using voice commands. It works awesome in every way, but I felt bad for its video feature.
Ifttt will send the command back to your Pi and your Pi will switch on your power socket. For the trigger text, I entered “switch the christmas lights $” without the quotes. This means it will listen for “OK Google. Switch the christmas lights XXXX” where XXXX is any spoken word or phrase. I also set it to use the words Fairy lights in one of the option boxes. For the output I have it say “OK, turning the fairy lights $” and it replaces the $ with whatever you said earlier.
Go to the Bluetooth icon on the top menu bar, turn on Bluetooth and then add a Bluetooth device. You need to install your Pi Zero W on the Raspberry Pi Zero Docking Hub. There are 4 sets of screws and standoffs and it will take less than a minute to assemble. Once the image is prepared, eject the card safely and get ready for next step. Controlling their fireplace, so I thought I'd show you my own approach.


No comments:
Post a Comment